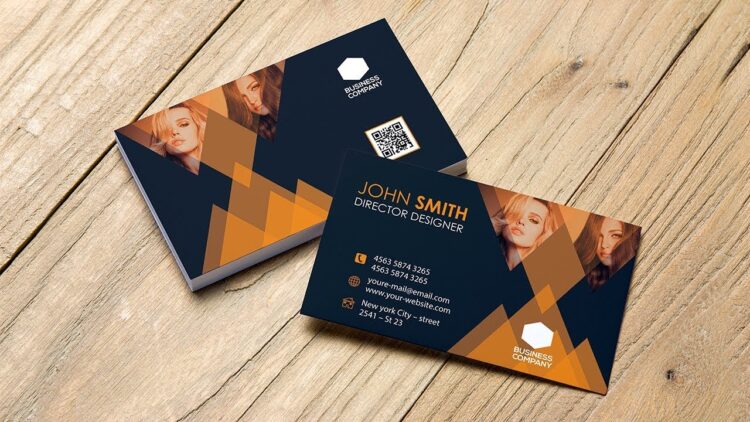
Creating Professional Business Cards Using Microsoft Word

Business cards are a crucial aspect of any professional’s networking arsenal. They serve as a tangible representation of your brand and provide potential clients or partners with your contact information. While there are many online services that offer business card design and printing, creating your own using Microsoft Word can be a cost-effective and customizable option. In this article, we will guide you through the process of creating professional business cards using Microsoft Word.
Step 1: Choose a Template
Microsoft Word offers a variety of business card templates to choose from. To access these templates, click on “File” and select “New.” In the search bar, type “business cards” and select the template that best fits your needs. You can also create a custom template by selecting “Blank Document” and adjusting the page size to match the dimensions of a standard business card (3.5 x 2 inches).
Step 2: Customize Your Design
Once you have selected your template, it’s time to customize your design. This includes adding your logo, choosing a color scheme, and selecting a font that aligns with your brand. To add your logo, simply click on the placeholder image and select “Change Picture.” You can also adjust the color scheme by selecting “Page Layout” and choosing a pre-set color scheme or creating your own.
Step 3: Add Your Information
The most important aspect of any business card is the information it contains. To add your information, simply click on the text boxes and replace the placeholder text with your own. Be sure to include your name, job title, company name, phone number, email address, and website.
Step 4: Adjust Your Layout
To ensure that your business card prints correctly, it’s important to adjust your layout. This includes adjusting the margins, aligning your text, and ensuring that your design elements are within the safe zone (the area that will not be cut off during printing). To adjust your margins, select “Page Layout” and choose “Margins.” To align your text, select the text box and choose “Align” from the “Format” tab.
Step 5: Preview Your Design
Before printing your business cards, it’s important to preview your design to ensure that everything is aligned correctly and that there are no errors. To preview your design, select “File” and choose “Print Preview.” This will show you how your business cards will look when printed.
Step 6: Print Your Business Cards
Once you have previewed your design and are satisfied with the results, it’s time to print your business cards. To do this, select “File” and choose “Print.” Make sure that your printer settings are set to the correct paper size and that you have enough paper and ink.
Step 7: Cut Your Business Cards
After printing your business cards, it’s time to cut them. To ensure that your cuts are straight and accurate, use a paper cutter or ruler and scissors. It’s important to take your time during this step to ensure that your business cards look professional.
Step 8: Store Your Business Cards
Once your business cards are cut, it’s important to store them properly. This includes using a business card holder or case to protect them from damage and keeping them in a safe place where they won’t get lost or misplaced.
Step 9: Update Your Design Regularly
As your brand evolves, it’s important to update your business card design to reflect these changes. This includes updating your logo, color scheme, and font. By regularly updating your design, you can ensure that your business cards always look professional and up-to-date.
Step 10: Use Your Business Cards
Now that you have created professional business cards using Microsoft Word, it’s time to start using them. Hand them out at networking events, include them in your marketing materials, and use them to build your professional network. With a well-designed business card, you can make a lasting impression on potential clients and partners.
Conclusion
Creating professional business cards using Microsoft Word is a cost-effective and customizable option for any professional. By following these 10 steps, you can create a design that accurately represents your brand and provides potential clients and partners with your contact information. Remember to update your design regularly and use your business cards to build your professional network.
