
How to Connect Your Wyze Camera
Wyze cameras are a popular choice for home security and monitoring. These affordable and feature-rich cameras offer high-quality video recording, motion detection, and remote access through a smartphone app. If you have recently purchased a Wyze camera and are wondering how to connect it, this article will guide you through the process step by step.
1. Setting up the Camera
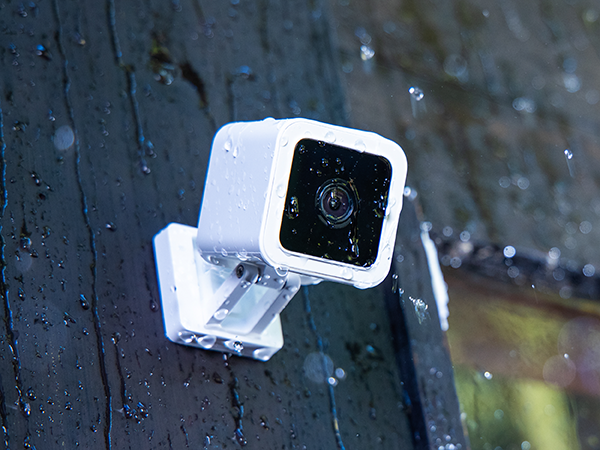
The first step in connecting your Wyze camera is to set it up properly. Start by unboxing the camera and finding a suitable location to place it. Ensure that the camera is within range of your Wi-Fi network and has a clear view of the area you want to monitor.
Next, connect the camera to a power source using the provided USB cable and power adapter. Once connected, the camera will turn on, and you will see a solid yellow light indicating that it is ready for setup.
2. Downloading the Wyze App
To connect and control your Wyze camera, you need to download the Wyze app on your smartphone. The app is available for both iOS and Android devices and can be found in the respective app stores.
Once you have downloaded and installed the app, open it and sign in or create a new account if you don’t have one already. Follow the on-screen instructions to complete the account setup process.
3. Connecting the Camera to Wi-Fi
With the Wyze app installed and your account set up, it’s time to connect your camera to your Wi-Fi network. Open the app and tap on the “+” icon in the top left corner to add a new device. Select “Wyze Cam” from the list of available devices.
Next, press and hold the setup button on the back of your camera until you hear a voice prompt saying, “Ready to connect.” The camera’s status light will start flashing blue and yellow, indicating that it is in pairing mode.
Return to the Wyze app and follow the on-screen instructions to connect your camera to Wi-Fi. You will need to enter your Wi-Fi network name (SSID) and password. Make sure to double-check the information you provide to avoid any connectivity issues.
Once you have entered the correct Wi-Fi details, the app will establish a connection between your camera and the network. This process may take a few moments, so be patient. Once the connection is successful, you will see a confirmation message on your screen.
4. Configuring Camera Settings
Now that your Wyze camera is connected to Wi-Fi, you can customize its settings according to your preferences. Open the Wyze app and select your camera from the list of devices.
From here, you can adjust various settings such as video quality, motion detection sensitivity, and notification preferences. You can also set up scheduled recording or enable continuous recording if you have a microSD card inserted into the camera.
Additionally, the Wyze app allows you to view a live feed from your camera, take snapshots, and even communicate through two-way audio if your camera model supports it. Explore the app’s features to make the most out of your Wyze camera.
Conclusion:
Connecting your Wyze camera is a straightforward process that requires setting up the camera, downloading the Wyze app, connecting the camera to Wi-Fi, and configuring the camera settings through the app. By following these steps, you can ensure that your Wyze camera is up and running, providing you with peace of mind and enhanced security for your home.